드라이버가 안잡혀서.. 낭패를 무진장 본...........사람중 한 사람.....임...
그래서 다시 VMWare로 윈도우8을 설치하기 위한 세팅 법을... 알려 드리겠습니다.
설치법은 기존 포스트에서 찾으시면 찾을 수 있습니다만,,(뒤에 계정 설정하는 부분에서 약간 다릅니다.. , 네트워크 연결이 가능하기 때문에 Live ID를 필요로 함)
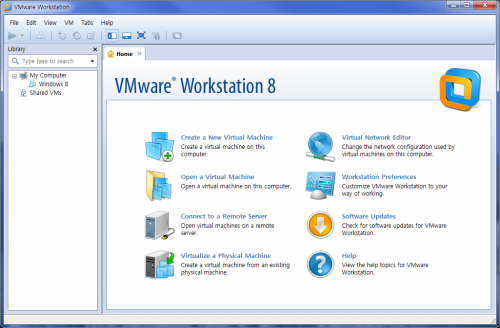
1. VMWare 8 워크스테이션을 실행하여 Create a New Virtual Machine 를 눌러 새로운 가상 머신을 추가 합니다.
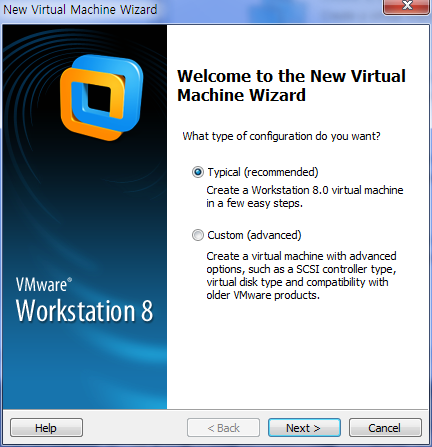
2. Typical(표준)을 선택하여 설정 합니다.
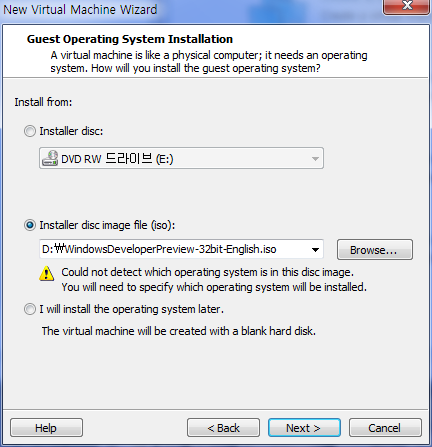
3. 다운받은 윈도우8 ISO 파일을 선택합니다.
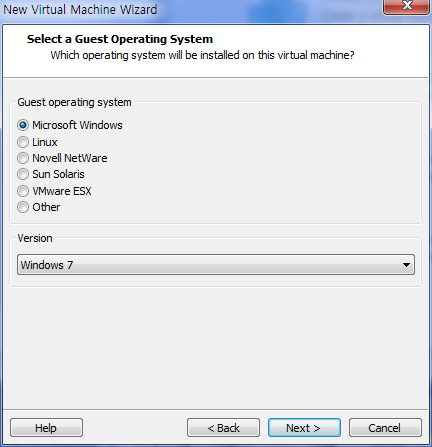
4. 운영체제를 Microsoft Windows를 선택합니다.
Other를 선택하시게 되면 드라이버 설치 문제로 쫌.... 문제가 일어납니다...ㅠㅠ
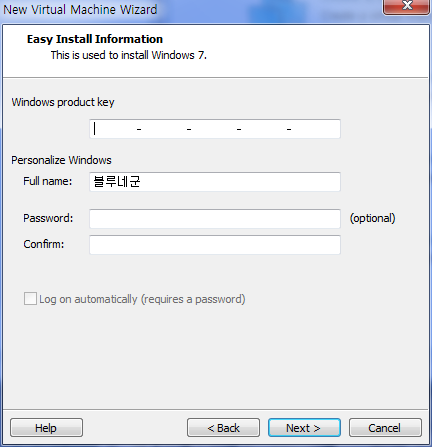
5. 시디키를 입력하라고 나오는데, 그냥 가볍게 무시하고 다음 누릅니다.
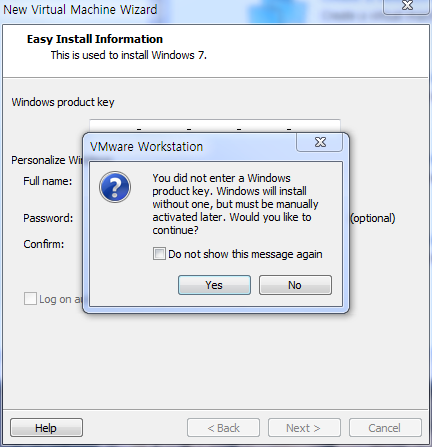
6. 시디키를 입력하지 않았다고 경고가 뜨는데.. 그냥 Yes버튼을 누르고 무시 합니다.
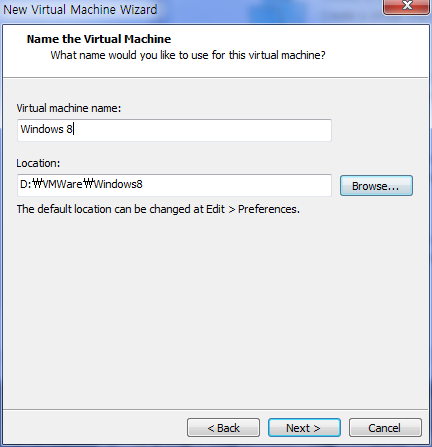
7. 가상 머신의 이름을 다음과 같이 지정(또는 다르게 지정하셔도 됩니다.)하고, 가상 머신의 파일 저장 위치를 지정합니다.
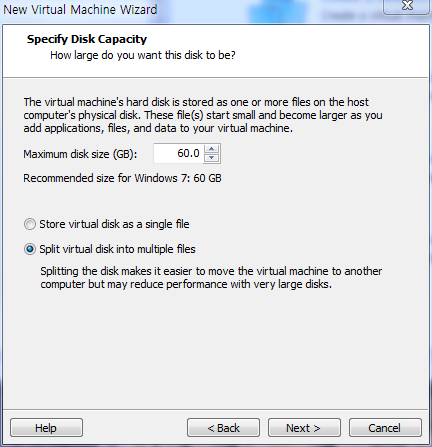
8. 가상 머신의 하드 크기를 지정합니다. 전, 기본값으로 설정하고 다음 버튼을 눌렀습니다.
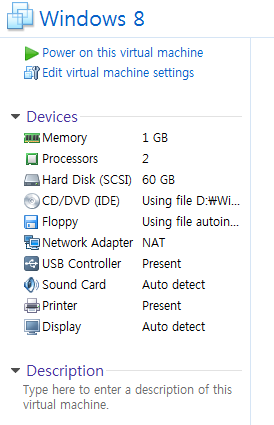
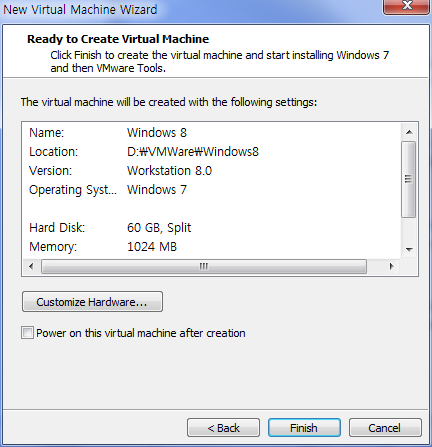
9. 설정 마무리단계, Customize HardWare를 선택하여.... 하드웨어를 설정합니다.
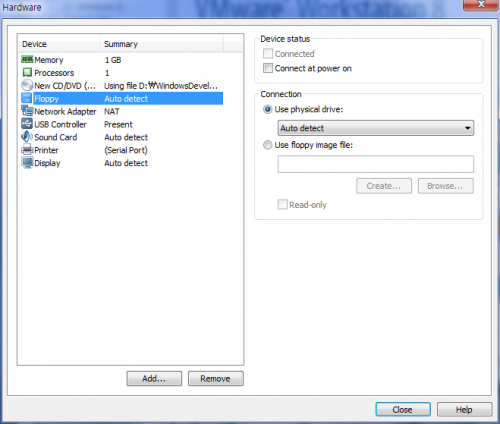
10. Floppy를 Remove하여 플로피 디스크를 제거 합니다.
만일 제거하지 않을시, 에러가 발생할수도 있으니 (반드시 제거 해 주세요...!!)
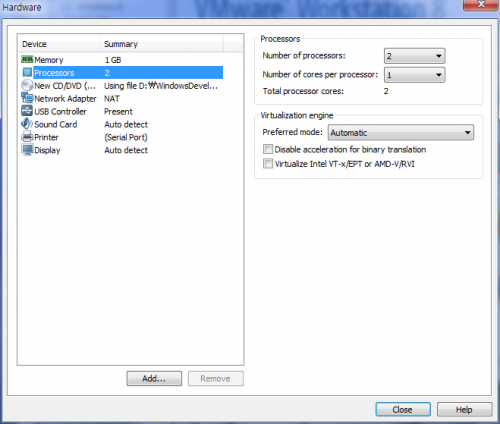
11. 필요에 따라 프로세스를 다음과 같이 설정을 (굳이 안하셔도 됩니다...)합니다.
12. 설정이 마무리가 되었습니다. Power On ths Virtual Machine 를 클릭하여 가상 PC를 부팅 시켜 윈도우를 설치 하시면 되겠습니다. (아래 캡쳐 화면에서 플로피 디스크가 보이는데.. 캡쳐 잘못 뜬겁니다...+_+ 꼭! 제거 하세요...)